I am configuring a server with a Qualcomm Cloud AI 100 (AIC100) accelerator, and I need the correct drivers and platform SDK to run machine learning models. You can find these devices online. For example, this eBay listing is provided purely as a reference so you know what hardware to look for, though you should always verify the seller’s legitimacy before making a purchase. Similar to standard Ubuntu configuration guides, this walkthrough covers the exact steps to install the Qualcomm Package Manager (QPM3), resolve Linux kernel compatibility issues, build the AIC100 driver, and run a test model.
Ubuntu 24.04 Install Docker & Docker Compose
I’m running an Ubuntu 24.04 LTS (Noble) server on an AWS t3.large instance, and I need Docker to manage containers for my applications. In this guide, I’ll walk through the exact steps to install Docker and Docker Compose on Ubuntu 24.04, configure it to start on boot, and allow it to run without sudo.
Update System
Before installing, always update your package lists:
1 | sudo apt update |
Add Docker Repository and Prerequisites
Ubuntu 22.04 Install Docker & Docker Compose
Install Docker & Docker Compose on Ubuntu 22.04
Update System
Open the terminal and run:
1 | sudo apt update |
Add Docker Repository and Prerequisites
Install required packages and HTTPS support:
1
sudo apt install apt-transport-https ca-certificates curl software-properties-common gnupg lsb-release
Add Docker’s official GPG key:
1
curl -fsSL https://download.docker.com/linux/ubuntu/gpg | sudo gpg --dearmor -o /usr/share/keyrings/docker-archive-keyring.gpg
Add Docker APT repository:
1
echo "deb [arch=$(dpkg --print-architecture) signed-by=/usr/share/keyrings/docker-archive-keyring.gpg] https://download.docker.com/linux/ubuntu $(lsb_release -cs) stable" | sudo tee /etc/apt/sources.list.d/docker.list > /dev/null
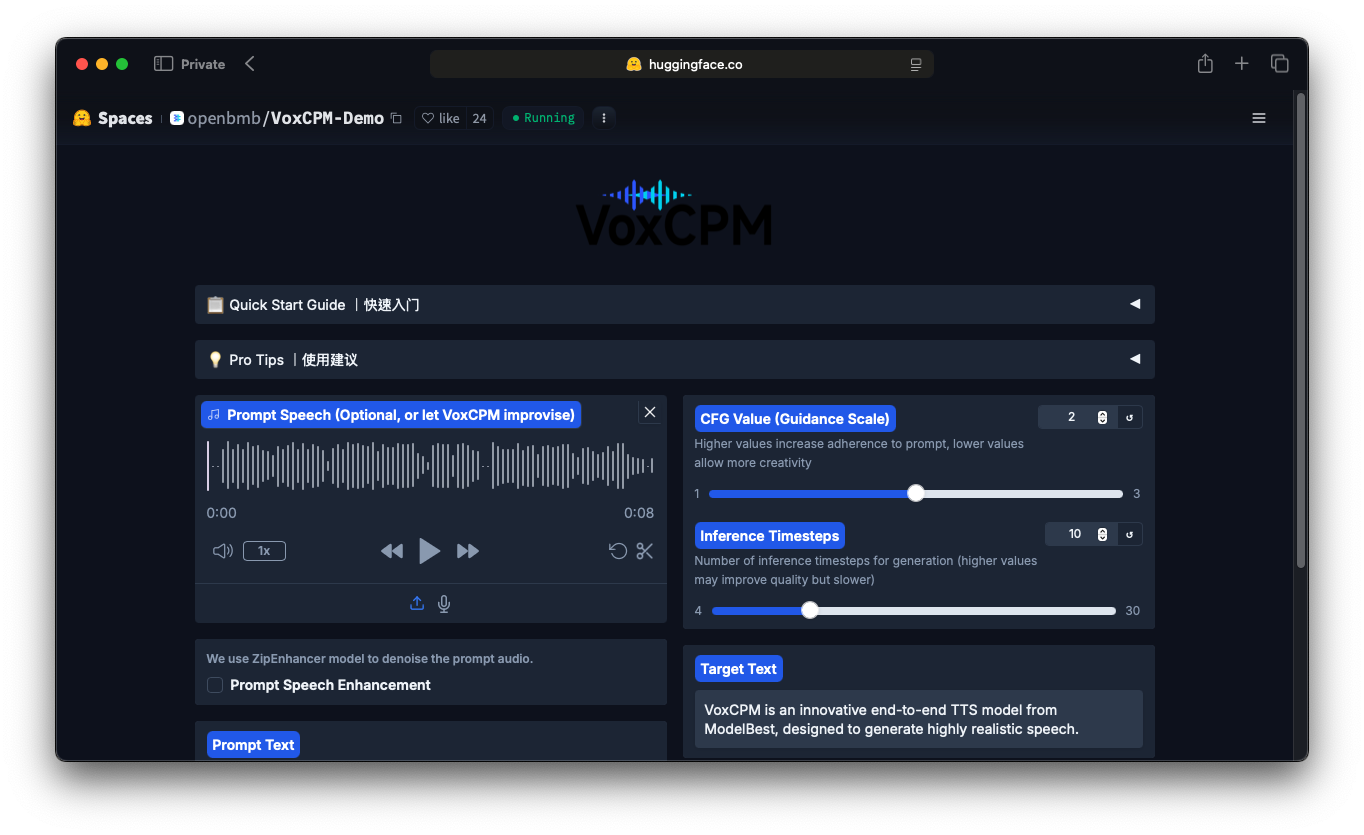
聲音的魔法師!任何人都能用的 AI 語音複製工具 (Part 1. VoxCPM 介紹與實戰)
🔥 M4 Crushes M2: Apple Silicon VLM Benchmark Shows Up to 5× Speed Boost!
🚀 Image Captioning and Visual Understanding with VLM
Ever wondered how fast cutting-edge vision-language models can run on Apple Silicon? This script puts Moondream2 to the test with a wide range of visual understanding tasks:
- 📝 Image Captioning — short, detailed, streamed, and non-streamed
- ❓ Visual Queries — ask natural language questions about what’s inside the image
- 🎯 Object Detection — find all instances of a given object
- 📍 Pointing — locate objects in the image by name
It also benchmarks runtime performance of these tasks to compare different Apple Silicon chips (M2 vs M4) using the Metal Performance Shaders (MPS) backend.
Ed H. Chi: The Future of Personalized Universal Assistant
The Dr. Chi start with the histroy of Sequence to sequence model. He have mention the early researchers used RNNs. But what does that mean? It means information is passed step by step, with each step depending on the previous one.
But then came the Transformer model Vaswani et al., 2017. Instead of relying on recursive steps, Transformers carry information forward using matrix multiplications. That changes the computation from linear time to quadratic time (O(n²)). heavier, yes, but much better suited for GPUs.
Fixing iTerm2 Gray Overlay on Inactive Panes in macOS
Fixing the Gray Overlay Issue in macOS iTerm2 When Inactive (Defocused)
If your iTerm2 shows a gray overlay when losing focus (split panes or background windows), you can fix it by adjusting or disabling the dimming effect.

Steps:
Open iTerm2 Settings (Ctrl + ,).
Go to Appearance → Dimming.
You can either:
- Decrease the Dimming amount, or
- Uncheck Dim inactive split panes (and/or Dim background windows).
This will remove or reduce the gray overlay when iTerm2 is inactive.

Fixing iTerm2 Gray Overlay on Inactive Panes in macOS(解決 macOS iTerm2 非活動視窗灰色蒙層問題)
修復 macOS iTerm2 非活動(失焦)時出現灰色蒙層的問題
如果你的 iTerm2 在失去焦點(分割視窗或背景視窗)時會出現灰色蒙層,可以透過調整或關閉變暗效果來解決。

操作步驟:
開啟 iTerm2 設定(**Ctrl + ,**)。
進入 Appearance → Dimming。
你可以選擇:
- 降低 Dimming amount(變暗程度),或
- 取消勾選 Dim inactive split panes(和/或 Dim background windows)。
這樣就能移除或減弱 iTerm2 在失焦時的灰色蒙層。
(下) 擁有超能力?!大型語言模型輔助學習,從無到有學會使用 RAG (Part 2. Anything LLM 基礎)
前言
在上一篇文章中,我們學會了如何在自己的電腦上使用 TAIDE。這次,我們將透過 Anything LLM,簡單地把你的所有資料當作燃料,啟動 AI 的力量。
本次教學建立在上一篇的基礎之上,如果你還沒跟上,可以參考 AI 焦慮?怕被 AI 淘汰?手把手教你在筆電上使用 TAIDE!(Part 1. LM-Studio)。

相關工具介紹
在開始教學之前,讓我們先了解一下會用到的工具:
- 官方模型 TAIDE-LX-7B-Chat (https://huggingface.co/taide/TAIDE-LX-7B-Chat)
- TAIDE-LX-7B-Chat-GGUF
- 使用 TAIDE 之前必須了解 TAIDE 的使用者規範
- LM Studio: 一個用於開發、微調和部署大型語言模型的平台。
- Anything LLM: 一個強大的工具,可將你的所有資料與大型語言模型連接,實現 RAG (Retrieval-Augmented Generation)。
(上) AI 焦慮?怕被 AI 淘汰?手把手教你在筆電上使用 TAIDE!(Part 1. LM-Studio)
前言
近年來,人工智慧(AI)的快速發展引起了廣泛的關注和討論。許多人對 AI 的崛起感到焦慮,擔心自己的工作可能被 AI 取代,進而影響生計。然而,與其恐懼 AI,不如主動學習並運用 AI 工具來提升自己的工作效率和競爭力。
本文將分為上下兩篇,手把手教你如何在自己的筆記型電腦上使用台灣在地化的語言模型 TAIDE。上篇將介紹如何透過 LM Studio 應用程式在本地端運行 TAIDE 模型;下篇則會進階說明如何利用 AnythingLLM 平台更靈活地使用 TAIDE。
讓我們一起擁抱 AI 浪潮,化危機為轉機,開啟全新的工作與學習體驗吧!
介紹
關於 TAIDE
根據 TAIDE 官方 Huggingface 介紹 「TAIDE計畫 致力於開發符合台灣語言和文化特性的生成式人工智慧對話引擎模型,同時建構可信任的人工智慧環境。結合產學研能量,推動可信任生成式人工智慧的發展,提升台灣在國際競爭中的地位,促進產業發展,避免對外國技術的依賴。」
簡單扼要地說,TAIDE 是一個台灣在地化的語言模型,雖然我習慣使用外語學習,但是使用中文學習起來還是更輕鬆一些。
面對這波的 AI 浪潮,我想藉由這次 TAIDE 模型的釋出,撰寫一篇手把手的教學文章,希望可以幫助大家跟上 AI 的腳步。讓我們一起來學習如何在筆電上使用 TAIDE 吧!